Smartphones for Artists.
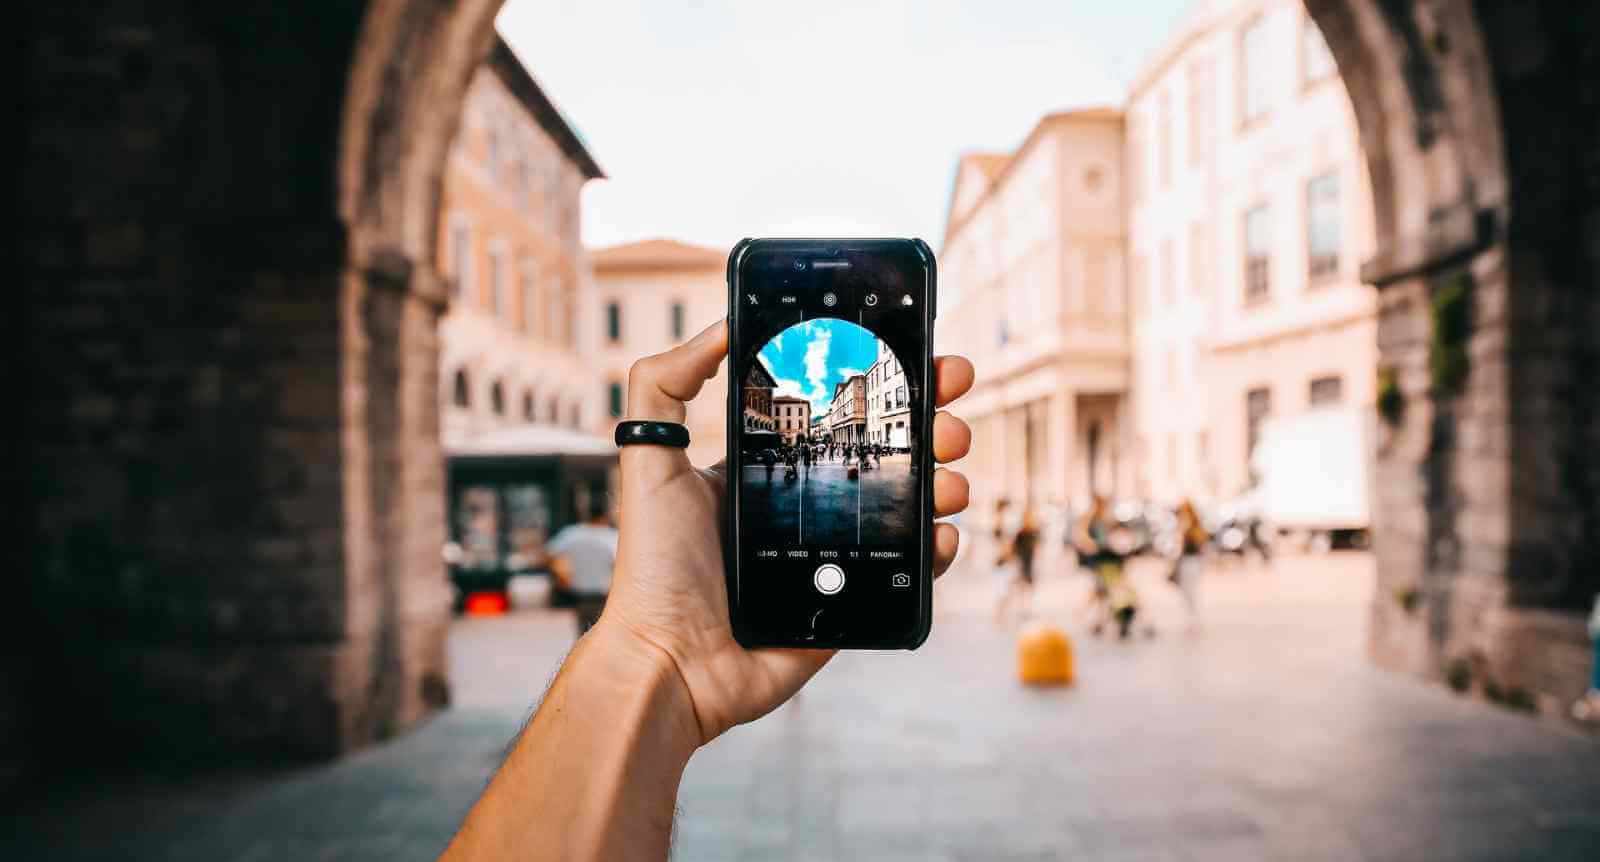
In a world where endless artistic inspiration can be found at any moment, smartphone cameras have changed the game by enabling artists to take great reference pictures for later. It’s vital to capture a good shot to convey the same details, light, and emotion of the scene where inspiration struck. To make it easier, we gathered 5 tips to take better pictures with your smartphone’s camera.
1. Camera Gridlines
Art and photography work hand in hand in regards to composition.
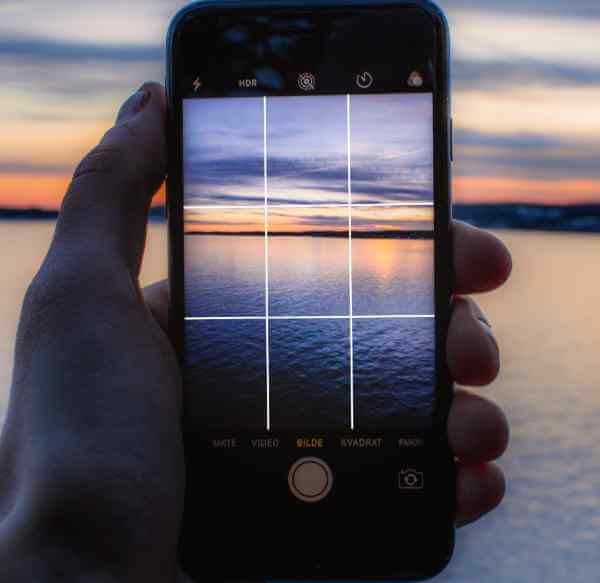
Being an artist, you probably have a much better eye for composition than most but having a handy camera grid never hurts. The grid “overlays” on your screen and divides it up into 9 equal sections, making it much easier to follow the rule of thirds.
Note that settings vary from phone to phone and we recommend researching online for how to turn on the grid settings for your specific phone model.
The general pattern is to go to [Settings] > [System Apps] > [Camera] then toggle [Grid] to the on position.
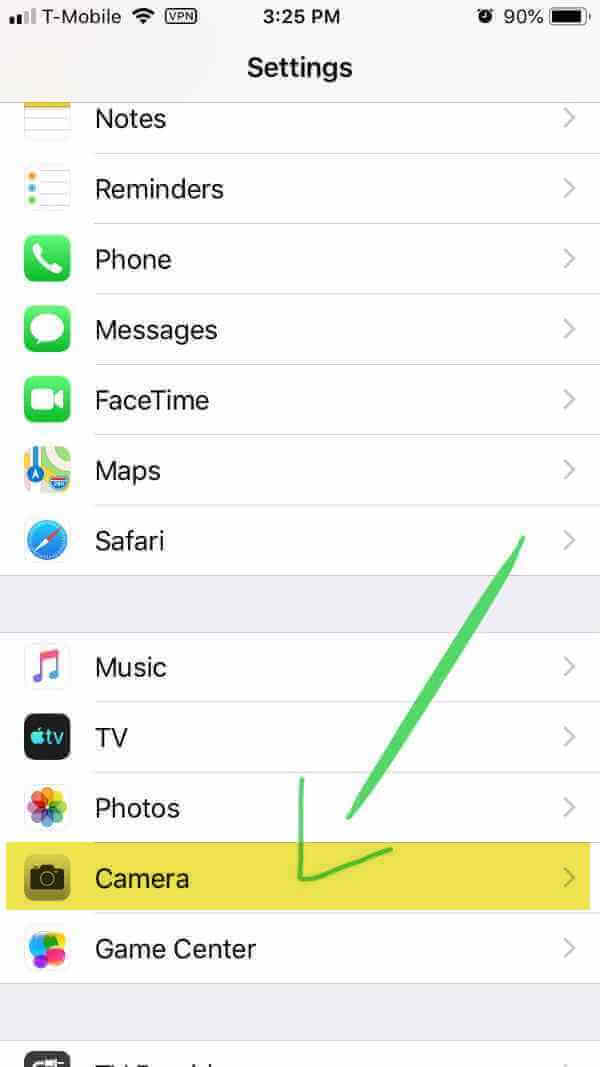
a) Click on the Settings icon on your phone. This is found on your home screen and looks like a gear. This will open a menu screen.
b) Scroll down until you see “camera” and tap on this section.
c) You will see another menu screen with options to customize your camera settings.
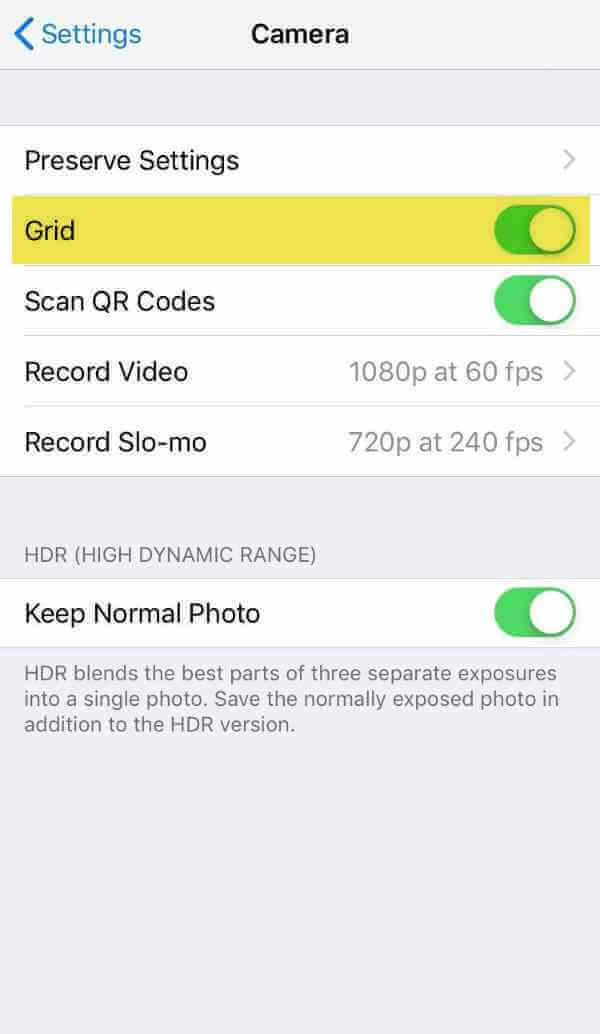
d) There should be a “grid” or ”gridlines” option. Click on this to turn it on.

2. Adjust Image Lighting
Have you noticed how your skies sometimes are not rich and blue, but white and bleached out? Or if the sky looks good, the darks are so dark?
To avoid this, tap either the sky or the shadow parts of the image, one or the other to properly adjust the exposure of the photo. This is done with the camera app open and before taking your image. By tapping on a lighter section of your photo, the camera will expose correctly for those parts and it generally make it darker overall. If you tap a darker section, the image will correctly expose and become lighter revealing detail in the darks.
3. AE/AF Lock
AE/AF stands for automatic exposure/automatic focus and is a very useful tool when shooting a picture. Smartphone cameras these days automatically adjust the exposure (lighting) and the focus of your shot for the overall image or whatever happens to be in the center of the screen. The AE/AF lock enables you to choose exactly where you want the camera to focus, and it locks in the lighting for this focal point as well. For example, let’s say you want to take a picture of a flower but the camera keeps focusing on the background, making the flower appear blurry. On most phones, this is a super easy fix. With the camera app open tap and hold on the area that you want to be in focus for a few seconds (in our example, the flower). A yellow square will appear. Hold this down until you see a small yellow rectangle appear at the top of your screen with the symbols AE/AF Lock. Your focal point and lighting for the subject are now locked-in. You can even move the camera slightly for better composition, and the subject, our flower, will remain locked in focus.
To take it out of this mode, simply tap the screen once more and let go.
4. Clean the lens
It sounds like a no-brainer but you’d be surprised by the increase of photo clarity when you clean the lens of your phone camera. Throughout the day, phones are constantly in our hands, placed on various surfaces, and in our pockets which consequently leads to a dirtied lens. This affects photo quality. The solution is to grab a clean cloth, gently wipe the lens, and voilà your images are now clearer.
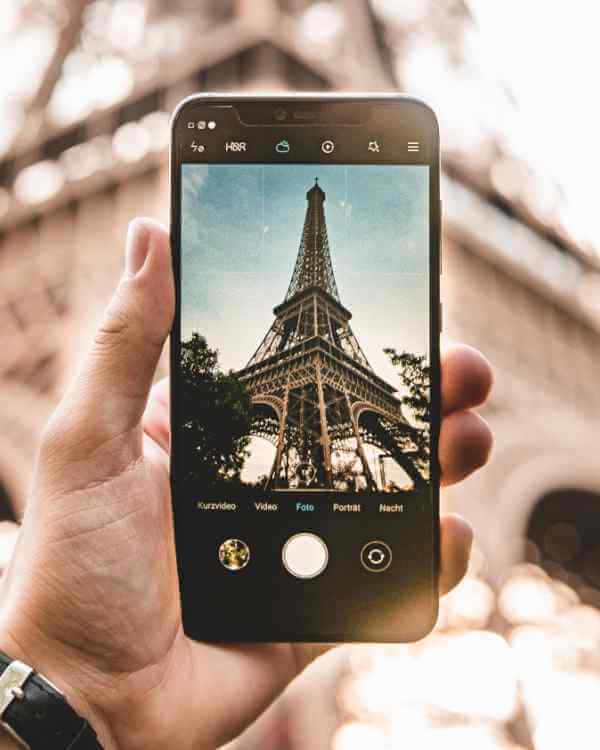
Photo by Mika Baumeister on Unsplash

2. Adjust Image Lighting
Have you noticed how your skies sometimes are not rich and blue, but white and bleached out? Or if the sky looks good, the darks are so dark? To avoid this, tap either the sky or the shadow parts of the image, one or the other to properly adjust the exposure of the photo. This is done with the camera app open and before you press the shutter button to take your image. By tapping on a lighter section of your photo, it will make it darker overall. When you tap a darker section, the image will become lighter.
3. AE/AF Lock
AE/AF stands for automatic exposure/automatic focus and is a very useful tool when shooting a picture. Smartphone cameras these days automatically adjust the exposure (lighting) and the focus of your shot. The AE/AF lock enables you to choose exactly where you want the camera focus to be and locks in the lighting for it as well. For example, let’s say you want to take a picture of a flower but the camera keeps adjusting the focus to the background, making the flower appear blurry. On most phones, this is a super easy fix. With the camera app open and ready to shoot a picture, tap and hold on the area that you want to be in focus for a few seconds (in this case, it will be the flower). A yellow square will appear. Hold this down until you see a small yellow rectangle appear at the top of your screen with the symbols AE/AF Lock. This locks in your focal point and lighting of the photo. To take it out of this mode, simply tap the screen once more and let go (do not hold).

Photo by Mika Baumeister on Unsplash
4. Clean the lens
It sounds like a no-brainer but you’d be surprised by the increase of photo clarity when you clean the lens of your phone camera. Throughout the day, phones are constantly in our hands, placed on various surfaces, and in our pockets which consequently leads to a dirtied lens. This affects photo quality. The solution is to grab a clean cloth, gently wipe the lens, and voilà your images are now clearer.

5. Shoot in HDR
HDR stands for high-dynamic-range-imaging. What it does is allow the camera to create a picture that more closely captures all of the nuance the human eye can see by taking three consecutive shots, each with different lighting—one normal, one bright and one dimly lit—and then combining them together into a single image.
The result is an improved shot with better lighting and clearer details in the shadows (dark area) and also in the highlights (bright areas). In almost all cases HDR will greatly enhance the clarity and color of landscapes, close up shots, and portraits.
You should not use this setting if you are shooting a silhouette or a photo in harsh sunlight.
a) Open up your camera on your iPhone by tapping on the camera icon.
b) You should see a thin horizontal black bar on the top of the screen with a lightning bolt, the letters “HDR”, a timer symbol, and three circles. Tap on the one that says “HDR”. (If you don’t see it, your model of phone will have the options in your iPhone’s settings, under the camera drop-down menu.)
c) This will pull up three options, “Auto”, “On” and “Off”. Tap “On”. Your camera is now set to shoot in HDR.
a) Open up the camera app.
b) Tap on the camera settings option. This is usually located on one of the four corners of your screen when the camera app is launched. It oftentimes appears as a gear icon.
c) You should now see a menu with different settings for your camera. Tap on HDR (Rich Mode). This turns it on.

Blogger: Alina Alvarez
Alina is one of our team members here at Workshops in France and loves all things art! From writing, to ballet, choreographing, and cinematography, she's studied all these subjects and strives to continue helping artists from all around the world.
Check out more blogs about art workshops, tips and hacks for artists traveling in France and Scotland.
Bonjour Decoded
To get the most out of your trip to France, you have to connect with the locals – and the best way to connect is to speak their language. Even if you don't speak French, in large cities like Paris, most locals speak a good amount of English. But if you walk up and try...
Sorolla at the Hôtel de Caumont, Aix-en-Provence
For anyone attending one of our two Lavender Art Retreats near Aix-en-Provence this summer, there will be an extra special added event: the Hôtel de Caumont Art Centre in Aix-en-Provence will be presenting an exhibition of the Spanish painter Joaquin Sorolla, entitled Joaquin Sorolla, Spanish Lights.
Americans in Paris, George Gershwin and Gene Kelly
When Workshops in France partners with Vanessa Rothe Fine Art to present the historical workshop Americans In Paris Paint Provence in September of this year, we will be following a tradition that goes well beyond painting.


